Project requirements TL;DR
- Needs a 3D environment
- 2+ independent player gameplay
- Use of vfx (particles etc)
- AI npc's
- Consistent Theme
- Sound (sfx, music, etc)
- And any other features we wish to add.
- Game Design Document
- Project Website
We are a team of 3 guys (Male to Female ratio in the course is heavily slanted...there are however female devs...they are just in the minority here with us), all having beards....so we call our self is
 The team

And the game we are going to create is called:


- Jacques Botha (me) (Front):
- Art Director
- 3D Modeler
- Game Developer
- VR enthusiast.
- William Grant (Mid):
- Game Developer
- Assistant Writer
- Sound Design
- Yusri Dollie (back):
- Lead Writer
- Game Developer
- VR enthusiast
And the game we are going to create is called:
Eden's Odyssey - Liberation
Break down of what we are planning to do, and I quote:
"Eden’s Odyssey is a First Person SciFi brawler/shooter, it takes gameplay inspiration from theDark Souls series of games, with melee dominated combat, and limited healing and checkpoint
mechanics. The game allows for 4 players simultaneously, experiencing a mixture of PVP and
PVE. Players can work together to overcome challenges and bosses (Note: Bosses do scale with
the number of players present in the Arena) alternatively players can choose to fight amongst
themselves in an effort to slow other players and gain extra resources (This poses a risk to both
the attacking and defending players as you may lose more than you gain when engaging each
other)
The game is laid out linearly, with branching paths that may lead to traps or dead ends, dead ends
may contain special loot which would reward the player for exploring, however progress can only
be made along the main linear path. The game ‘ends’ when one player reaches the escape pod
and leaves the prison. Thus a player weighs the risk of exploration and the possible benefits of
gaining an item advantage, the time wasted doing this and the possibility of being caught in a
trap.There is only one escape pod so the first player to reach it would win, this is the source of
competitive conflict between players.
Players may choose to cooperate or actively compete with against one another. The game
supports a specialised boss system which allows each player to engage in their own boss session
or share a session (At the cost of increased boss difficulty based on number of players) The
deciding factor being whether having more people to make a boss fight easier vs doing it alone in
the hopes of getting out sooner and thus reaching the end sooner.
Players may choose to directly engage one another in an effort to slow each other down, or steal
resources from each other by killing an opponent."
TL;DR:
- Science Fiction – Based on a futuristic prison planet
- First Person Perspective
- 1-4 Player Multiplayer (PVE & PVP Hybrid) – Gameplay is both Co-operative and Competitive, players are always in competition with one another but can co-operate to achieve certain goals.
- Staged Gameplay- Like many classic games levels lead up to ‘boss' fights
The style will follow a minimalist SciFi Theme, being based in a space based prison designed as a planet it draws inspiration from other prisons depicted in popculture (e.g. Chronicles of Riddick, Guardians of the Galaxy), the major difference being the minimalist texturing style adapted from games like Superhot.
please note I do not own any of the following images, this is purely to convey an idea (..so please don't sue)


And then there is some "back story":
"Eden’s Odyssey is a minimalist FirstPerson science fiction game. Based on a futuristic prison
planet where prisoners attempt to get to the planet’s surface in order to escape from captivity and
head towards civilization.
The player assumes the role either one of the 3 prisoners sequestered to solitary confinement who
are unexpectedly released and must now fight their way to the surface and their freedom or the
role of the special character AND1, an android prison guard which is suddenly imbued with
sentience also fights to escape.
As they try to breach the surface, they must fight android guards as well as cybernetically
enhanced humans who guard the prison planet. Players can collaborate or compete in order to
survive and at the same time they must accomplish goals in order to move through the different
stages of the game."
Basic players will be standard mouse and keyboard setup connected to each other via LAN.
However...this post would not make any sense now would it.
Ladies, Gentlemen, spaghetti monsters, lizard people and our robotic overlords. I proudly present to you, the thing that makes this game project actually interesting, non generic and is entirely my responsibility....Project AND1 (Andi)
In essence a VR player wearing a Motion caption suit, holding a weapon prop and of course wearing a form of VR headset...all while being completely wireless from the hosting machine, playing a game with the other players.
Ok, I'm getting a bit ahead of myself here. let me explain the components and how they will interlink to make this part a reality.
- The mocap suit:
- A while back Yusri, Myself and another gent (not part of the project) back a kickstarter project called Perception Neuron by Noitom. From their site:
PERCEPTION NEURON is the first tool of its kind to deliver SMALL, ADAPTIVE, VERSATILE and AFFORDABLE motion capture technology. The modular system is based on the NEURON, an IMU (Inertial Measurement Unit) composed of a 3-axis GYROSCOPE, 3-axis ACCELEROMETER and 3-axis MAGNETOMETER. The strength of the system lies in Perception Neuron's proprietary Embeded Data Fusion, Human Body Dynamics and Physical Engine algorithms which deliver smooth and true motion with minimal latency.
The PERCEPTION NEURON 9-Axis sensor units output data at 60fps or 120fps*. The data stream is channeled to the HUB where it can then be transferred to a computer in three different ways: (1) via WIFI, (2) via USB or (3) recorded onboard using the built-in micro-SD slot.
PERCEPTION NEURON then connects to the software AXIS Neuron or AXIS Neuron PRO for calibration and management of the system, as well as recording and exporting data files for manipulation in most professional 3D, previz and game development tools.
PERCEPTION NEURON was specially conceived as a professional tool for video game developers, film makers, visual effects professionals, biomechanics researchers, sports and medical analysts, and virtual reality enthusiasts to finally have a flexible and affordable platform to experiment with and push the limits of motion capture.
*60fps: 19 - 32 Neurons, 120fps: 18 Neurons or less

 |
Me rocking the system
|
- The weapon prop:
- Still far from done (30-60% in development). The concept is that the player hold a "weapon" with a tracking node. The prop has a wireless controller built in, meaning player pulls the trigger, the characters' weapon fires, etc.
- Concept 1:

- Current version (modified airsoft rifle):

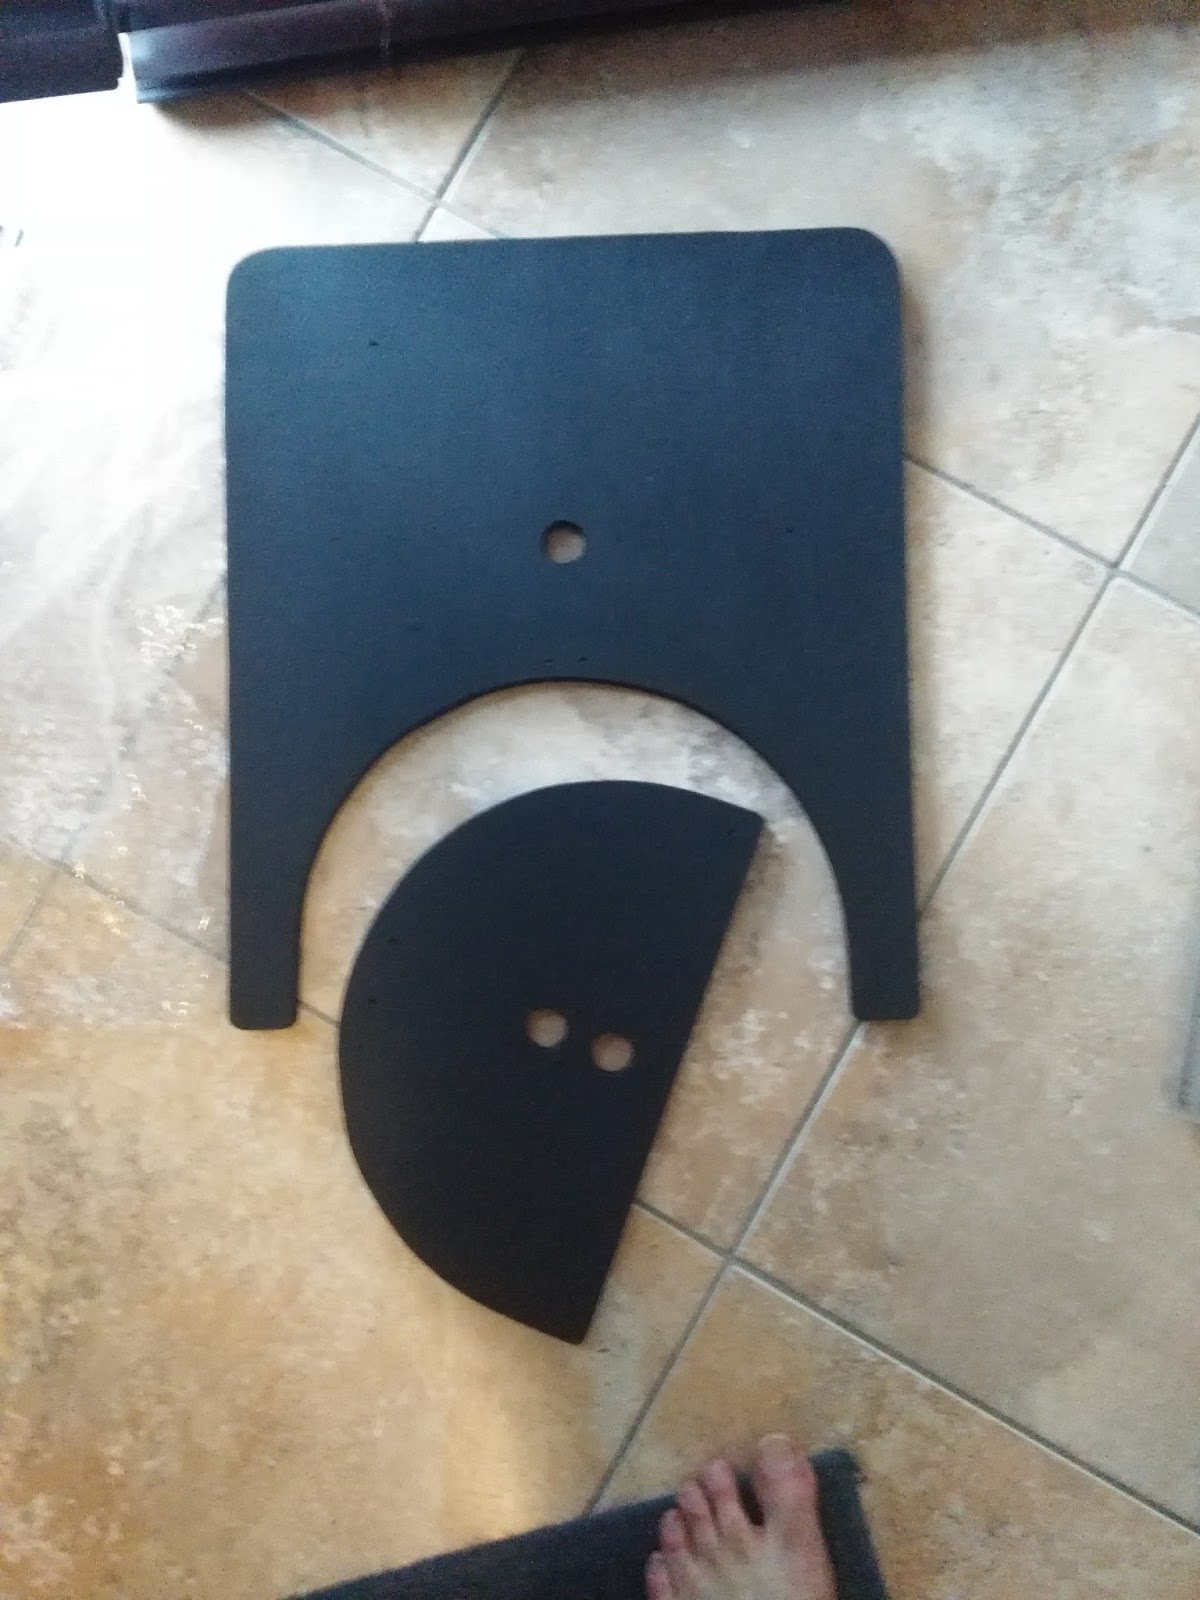
- VR headset:
- Originally we where planning on using the varsity's Oculus Dev2, Unfortunately a master student needed it more (and us being in undergrad means he gets preference). However the saying "Necessity is the mother of all the invention" rang true.
- Plan B was to use a Google cardboard for the VR player...however getting a mobile game and desktop games to communicate properly as well as having the mocap suit talk to the phone...forget it. Solution? Stream the pc screen wirelessly (at a high refresh-rate) to the phone in the cardboard. It took some research, testing and luck...but finally got that up and running (Using KinoConsole streaming app on phone and server on pc). Unfortunately you need to keep the Google Cardboard to your face with your hands...and seeing as we wanted to allow full body movements (no limitations) I decided to redo the Cardboard and 3d printed one with head straps (with the cardboard's lenses).
- So with the ground work laid down, I started trying to pull all together. After about...a month of tinkering and fixing...I got the headset and mocap suit to work simultaneously in unity.


Unity+Mocap+Headset Demo (cringe worthy I know)
More mocap (uncalibrated) testing
Stay tuned for more updates in the coming months. (If you have any question feel free to ask and I'll try and reply to them as soon as I can)
Bonus Round:
Bonus Round: