Monday, 18 July 2016

The morgan project (Picture heavy)

So, 3D printers. The are awesome.
FACT.
Unfortunately, I don't own one (Well I did buy one...but 2 years later I still haven't received it...meh...Ever heard of Buccaneer 3D?...yeah) so the next best thing is to build one.

I'm planning on building a FDM (Fused Deposition Modeling) 3d printer...in essence it's a glorified glue-gun strapped to a CNC. There are other methods of 3D printing such as SLA, DLP, SLS, SLM, EBM and LOM but all are either over complicated or over priced for a mere peasant such as myself to even think to build (let alone buy).
There are many ways FDM printers work, most popularly is the Cartesian system that printers such as the Ultimaker 2 use.
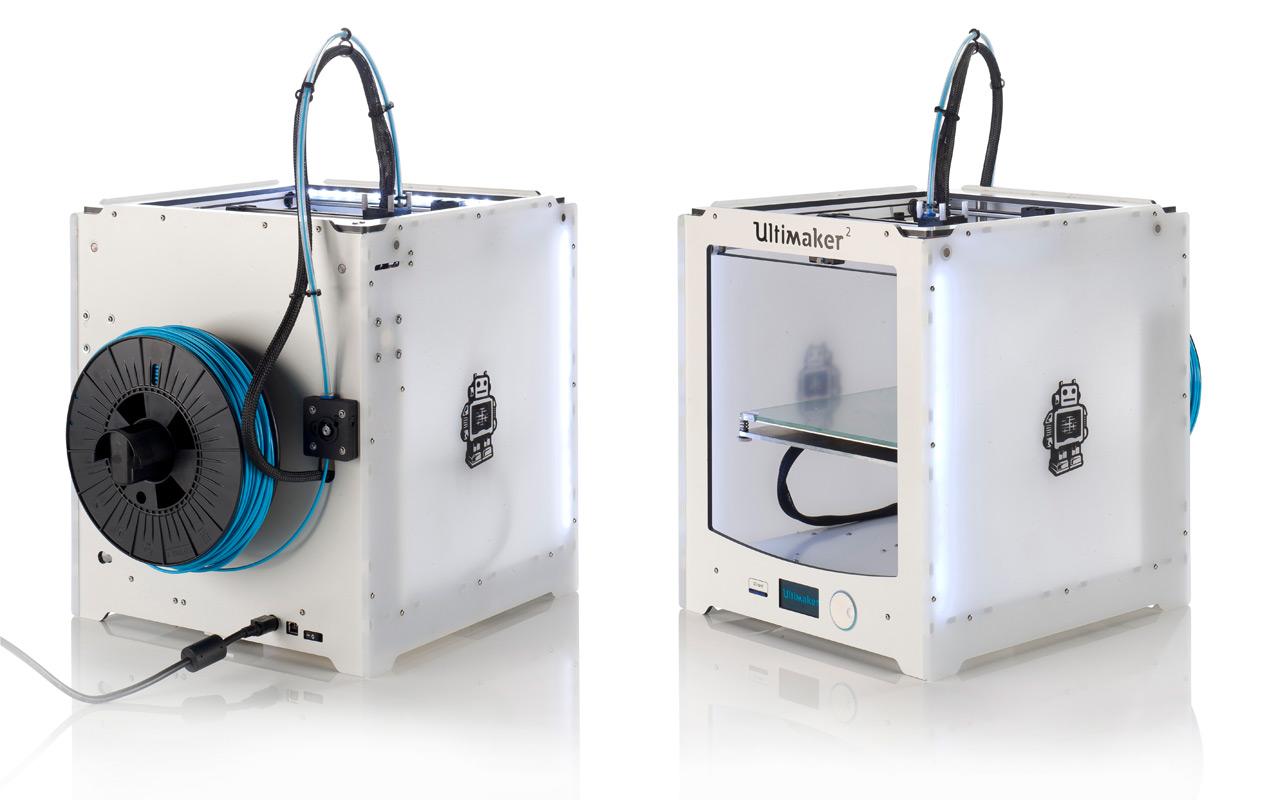
These printers uses basic Cartesian coordinates (X,Y,Z) to create the printed objects.

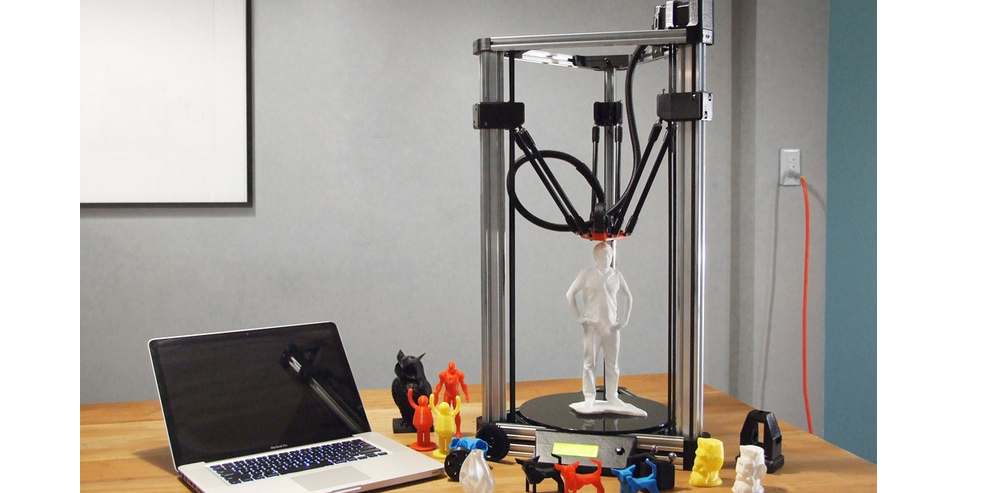
 The next, more niche type of FDM printers are Delta printers. The print head is suspended from 3 arms that are controlled along vertical supports, while the print bed is completely stationary.

The printer I am building is none of these. It's a Scara printer. I'm building a RepRap Morgan.
It uses scara arms to move the printing head int the x-y plane,m making it a very interesting alternative 3D printer. I mean look at this thing move:
If you are interested in building your own: link
Any how, lets get building.

First step is to get all the parts 3d printed, with 3D printer...that I don't have...damn.
So after some searching, pleading and bribing I found a friend who would be willing to help out with printing some of the parts I needed. He printed the 2 arms and the extruder. 
Blurry photo is blurry...tad hard to take the pic and hold it with the other hand
Decided to use a geared Greg/Wade extruder
I then legged it to my local maker space and used a tiny 3D printer to print the pvc pipe supports.
Next challenge was trying to find the correct pvc pipes...that took about a week, but finally found it.
Didn't have access to a laser cutter, so out came the jigsaw.
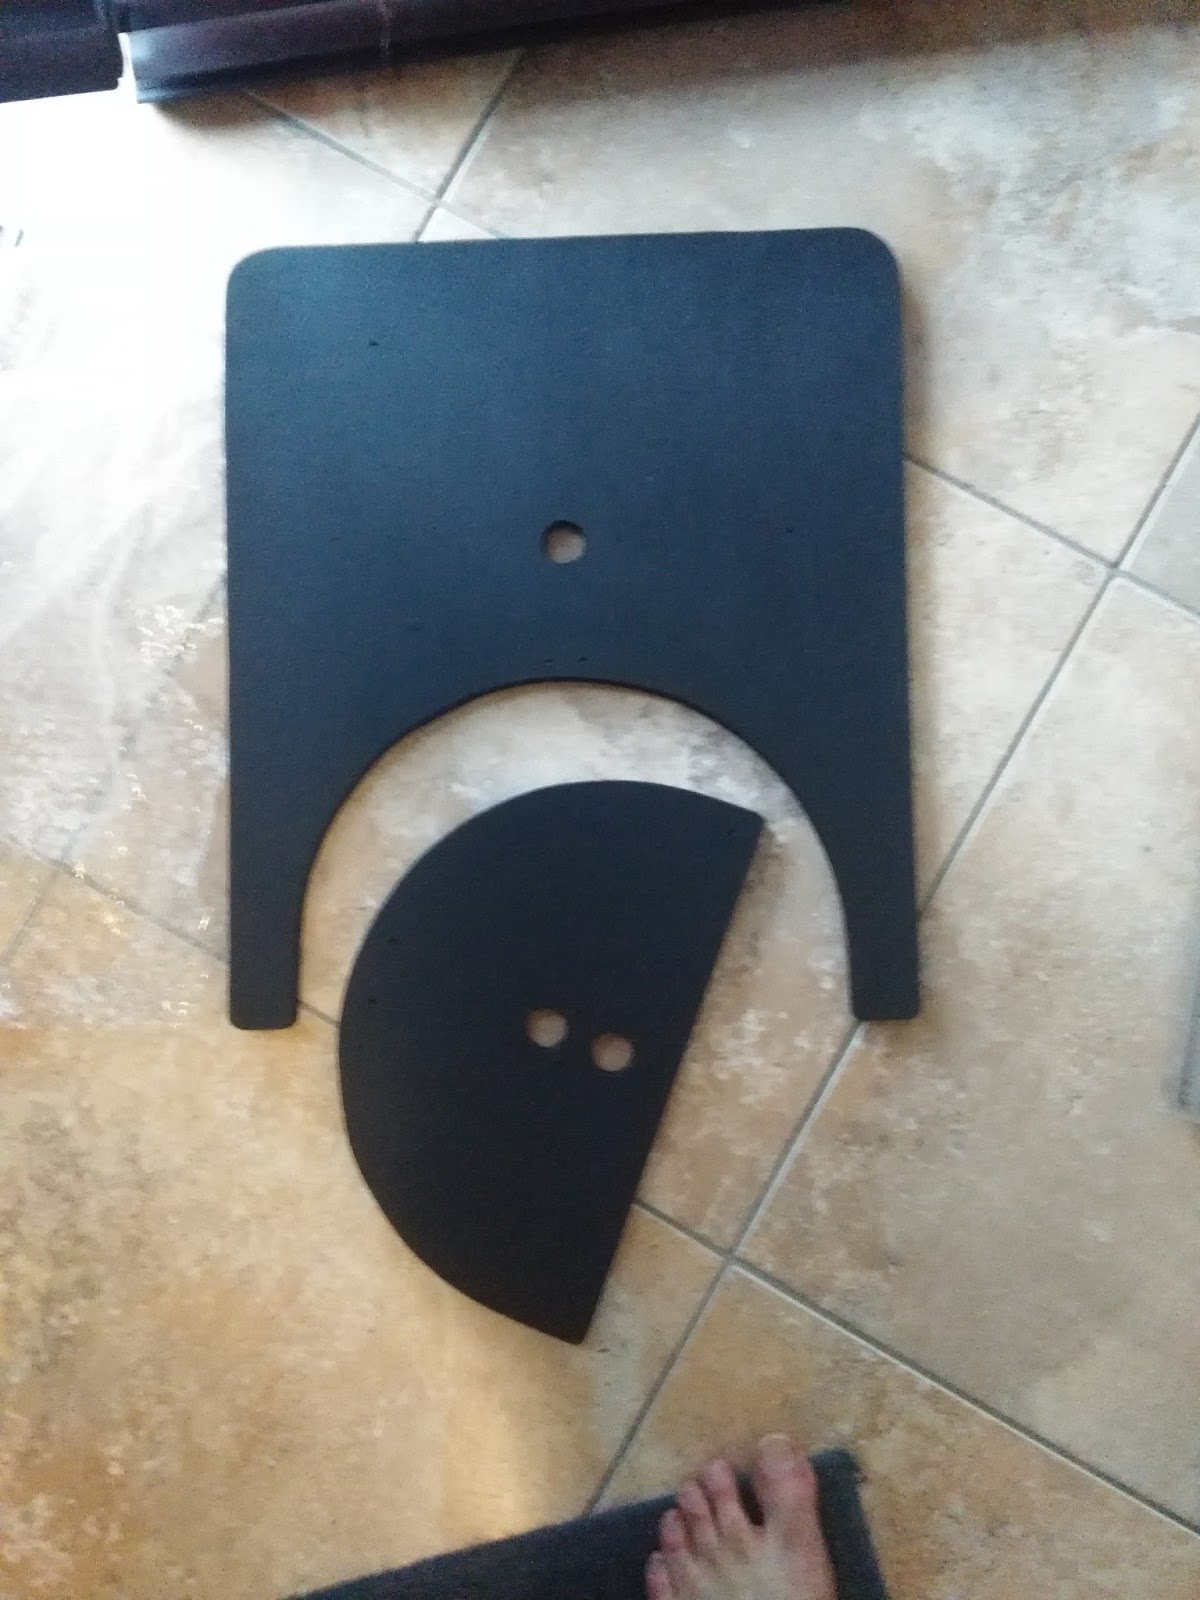
The wood is mdf...which is brown...not ideal...so I painted it black with some acrylic paint.
Now what colour would look epic with black? Green...nope. Red...nope. ORANGE!!! Damn straight.
This is Rust-Oleum Ultra Cover spray paint, my weapon of choice. Usually lasts me a project or two.
I wanted to do something about the power supply (I will be using a PC ATX power supply) and some form of able management. So I decided on making a "basement" layer of sorts. 80 mm (8cm), ie the height of the standard ATX PSU
Decided to go with a PC ATX power supply as I had one, and is much cheaper relative to its LED PSU counter part.
I snipped and modified the wires according to this RepRap "tut" thing link
Note: THIS WILL VOID ANY WARRANTY OF THE PSU IF YOU OPEN/MODIFY IT
PSU is mounted to the MDF via the fan skrew holes...was hard to keep the fan still inside a closed up PSU.


Starting with the PVC pipe mounting. This went nice and quick. Zero issues here.

Phone camera at night time does weird things with colours.
"Final" structure
After that I started with the wiring...Sooooo many wires xD
After "Doing what I can" with what I had, I had to move to a larger 3d printer as the tiny volume of the maker space printer just wasn't going to cut it.
So...I asked around, and I got access to my varsity's 3d printer (In return, I had to do basic maintenance and upgrades to the printer...win!!!)
Look at that smug face


Final bits (with the "new" wheel designs)


A small hiccup...when I started a print something (in ABS)...and then left for the day...below is what i was greeted to the next day...welp.
Straight out of a horror movie
After cleaning up, hitting reprint (this time in PLA) I started on the Z gantry.
After some wiggling and tweaking, finally got everything in place.
Now for the z axis, Usually one would use a lead screw...but I saw there was a thread-less ball screw concept...I didn't even think twice about any complications that it would bring. I mean. Just look at it. 
It is a smooth rod yet it can carry the print bed and print with no backlash...pretty dang epic in my opinion.
Printer progress (excl arms)
I added the arms and started wiring up the heated bed.

First "final" phase. Now I was ready for testing.
The build is now 6 month in...I'm done. Or so I thought. This is what happened when trying to home the printer.
To be honest. I freaked. I thought I broke something. Luckily everything was in one piece (in an unbroken state). I re flashed the firmware, double checked the parameters, etc, etc....to no avail.
Finally disassembled the whole thing, and restarted all the electronics from the start.


Turns out, the Ramps board that I bought never came with micro step bridges....
I grabbed a few, and it solved the majority of the movement issues.
"Finished" state. Sexy looking am I right?
How ever...my struggles didn't end there. Calibrating this was a pain in the rear end.
I spent 2 month on just attempting to calibrate this. And this was The best result I could produce. 
Now thats one ugly test cube. In case anyone asks. The nozzle is the correct temp and unclogged.
I mean come on. But to prove, that thing was actually working....where is a vid.
After all this, I've decided to can this build. It's just not reliable enough. The Hall effect sensors used to home the arms just didn't produce a reliable result.
The printer design looks epic, that is why I started this project. However I could not get it to reliably print something, thus deciding to stop.

I have learned a ton while building this. So I will not be giving up on building my own printer. I'm just going to start off with a simple mechanism (Standard Cartesian system).

TLDR:
IF you are planning to build your own first 3d printer...avoid the morgan/scara design. Start with something simpler and attempt this when you have a larger knowledge about printers (or you hate your free time)

Sunday, 14 February 2016

Tackling the good old "auto bed leveling" problem

Greetings all

So, I've been building the same 3d printer for 2 years now (A reprap morgan) and although frustrating, I'm loving every second of it.
Alongside my (unfinished 3D printer), I started building a variant of the rostock mini for a family member. I find the concept of auto bed leveling appealing...not necessary, but more of a nice to have imho.

Now, the usual way of bed leveling is that probe that gets engaged  by the belt and then it moves along the bed in the usual fashion,

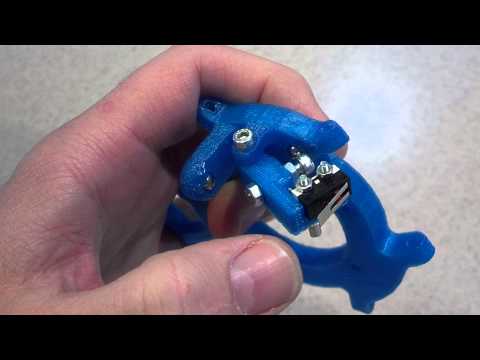
There is alos a servo isk micro switch solotion like this

But more moving parts = more that can go wrong (imo)

Then I saw Steve Graber's video on YouTube, this concept stayed stuck in the back of my mind, but wasn't exactly what I wanted (the tilting looked a tad wonkey...and he didn't provide links to the files)

After a while I saw the concept of using Force Sensing Resistors on the bed of the printer for bed leveling, brilliant expect for the fact that you could not use a heated bed (as the head would affect the resistors)


Seeing that I want to be able to upgrade the printer in the future with a heated bed< and took a liking to the FSR concept I kept searching....and came across edlep's FSR Groove Mount for a hot end on Thingiverse link

Finally a solution that I really like...until I started trying to source some FSR's. So I'm from South Africa, and our currency is shot recently, these ended up as a non viable solution.
I did not give up how ever, remember Steve Graber's system I talked about earlier (having a micro switch attached to the hot end) now I thought that would be a great concept if combined with this...so I did a quick mockup.

Ladies and gent I present to you an alternative solution to an already solved problem.


Unfortunately, seeing as my printer is not done yet I cant show a working prototype yet, so if anyone is interested in giving this a go give me a shout and I'll upload the files.

Any C&C is welcome, as this is my first post here on the forums.

Monday, 1 February 2016

Global Game Jam - 2016

So, yet again I've decided to do the Global Game Jam hosted at my University this year.

This years theme: RITUAL 
The diversifiers
Comic book colours
Your game uses only 4 colours, with an emphasis on contrast 
- Accessibility, Art, Design, Pervasive
LEGO Got It Right
There are no spoken or written words in this game. This is even true in the instructions 
- Pervasive, Accessibility
The Bard's Tale
2016 is 400 years since the death of Shakespeare. Build a game around one of his works - Content
A local game for local people
Make a game that features your country, city, or people that jam around you 
- Content, Theme
Where in the world is…
Gameplay or art changes depending on the player's geographical location (GPS, IP location, etc). The game experience is therefore significantly different for players all around the globe - Art, Content, Design, Pervasive
Crowd sourced
Anyone who is watching it can play along!
- Design
No retreat, no surrender
The protagonist is unable to go anywhere but forward, in every situation 
- Art, Content, Design, Theme
Capture and Play - Bluetooth
Make a game with Bluetooth capabilities in which any bluetooth device near the PC that have the game would interact with something inside the game. (More items, more enemies, another challenger player, or instant co-op, etc)
 - Code
Take Control
Instead of the usual keyboard and console controllers, your game must use a custom controller
- Design, Accessibility
Marco Polo
Create a game that contains no graphical output -- all information is conveyed to the player through audio 
- Accessibility, Audio
Gandhi’s Game
This game must have zero violence in its game play. Conflicts must have resolutions based on logic 
- Design, Theme
One hand tied behind my back
Create a game that can be played with only one hand. On mobile just one hand holding and playing at the same time i.e. just play with your thumb. Desktop, mouse only or keyboard only 
- Accessibility, Design, Serious
Multijammer
Work cooperatively with other GGJ sites within your own timezone 
 - Meta
Story Mode
No cutscenes, textboxes or interruption of gameplay. Use player actions for all your storytelling - Content, Design, Accessibility
Infinite
Your world is procedurally generated 
- Code, Content
Loudmouth
All audio assets are created by sounds from your mouth
 - Audio
What was that?
Any sound featured must not be sourced from the object in the game making that sound 
- Audio
Work and Play
The game requires the player to code/learn to code to progress - Code, Serious
Won’t somebody think of the children?
Your team must use the works from a child or children - Meta
Companion screen
The game uses a mobile device as an additional screen to show a different mode or portion of the game - Code, Design
Common Ground
Make a co-op game playable by players who have very different levels of ability to each other - Accessibility
Twitch Plays (sponsored by Twitch)
Create a live streamed game intended to be played concurrently by the masses on Twitch.
Do You Even Care? (sponsored by iThrive Games)
Drawing from guidance materials from iThrive's subject matter experts, make a game that teaches empathy to teens.
Guidance materials from iThrive's subject matter experts is available from: http://ithrivegames.com/iThrive%20G4H%20Materials.pdf

Now...I could not think of a game....Nothing. I was a barren wasteland. Luckily, the rest of the community had a ton of brilliant ideas. So, I joined a team and we made a game called:

RPG where you are the village's most amazing and successful hero. (Named Bjorn) You also happen to have a severe case of OCD. You're sent on a quest to save the village, but you'll encounter a lot of things that are an extra challenge for you with your OCD condition.
The team (Not to be confused with the A-Team...different division ;P ):
(Left) Ben Geldenhuys - Art
(2nd from left) Megan Hughes - Game Designer, Project Manager, learnt-to-colour-in-using-wacom-at-ggj16
(Middle) Jem Smith - Lead Programmer
(2nd from right) Jacques Botha (Me) - Programmer, Art, Sound
(Right) Kevin Gibson - Music                         (can't find him?...welp, resident ninja in action)

Some of the Epic art that was designed by Ben (and his sexy assistants): 
The Hero, Bjorn
The home stead
Village

Dreaded Forrest
Final Boss
Unfortunately I don't have the original files anymore (Formatted PC soon after the Game Jam)
Exe download link [win] (for those of you who want to try your hands at being an OCD'd viking hero)

All in all was a epic experience. Even after the disaster (Coined the "Great Git Crash") where by we lost all audio (cept music) we still where voted the best game at the venue....squeeee xD. I would love to team up with these epic folks again and see want we create.

Guess I'll be back next year for another update on GGJ adventures, cheers.

Trophy Project

So a family friend recently finished his 21th Cape Town Cycle Tour , which is quite the achievement. So I thought I'd make a trophy of s...